Showing posts with label stars. Show all posts

Thursday, 21 November 2019

Golden stars card

If you like sparkle on your cards, then this card may appeal to you.

SU So Many Stars card by Angela Lovel, Angela's PaperArts


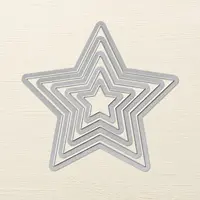
I used the So Many Stars stamp set and co-ordinating dies bundle by Stampin' Up! to create this card - plus lots of gold gimmer paper too.  The stamped stars also 'shine' as they were stamped using the Delicata Golden Glitz ink.

If you like this project you may want to consider attending a papercrafting class. I run classes each month - please contact me for further details if you live in Melbourne, Australia.  Private classes for you and your friends can be arranged for local crafters.

If you enjoy papercrafting and Stampin' Up! products you may want to consider joining my team to receive a discount on your supplies or to start a business that fits in with your lifestyle. I'm here to support you if you do like the idea of joining Stampin' Up! Click on the link at the top of this page for more information or please feel free to contact me to discuss the benefits of joining.

Thanks for visiting


Thursday, 3 November 2016

Star of light christmas card

The Star of Light stamp set and co-ordinating Starlight thinlits bundle was on the top of my list to purchase from the Holiday Catalogue and I so enjoyed making this card.


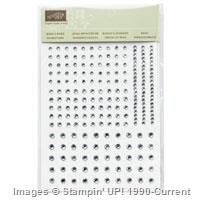
I started with a Whisper White card stock base and added a layer of Sweet Sugarplum card stock on top.  I stamped the star flourish from the Star of Light stamp set onto another smaller piece of Whisper White card stock and layered a Sweet Sugarplum die cut star from the Starlight Thinlits which had been stamped in Rich Razzleberry over the flourish.  A smaller die cut Silver Foil Star was added to the large star.  The sentiment is also from the Star of Light stamp set and was stamped in Sweet Sugarplum ink.  I added some of the gorgeous Sweet Sugarplum glitter ribbon to the card and layered the sentiment on top.  A few Rhinestones completes the card.

The products used on this card have been listed below - just click on the picture and it will take you to my online store where the product can be purchased.  Papercrafting classes are also available - please contact me for details.

Thanks for visiting.


Product List

Thursday, 28 January 2016

Celebrating 18

It was my son's 18th birthday not long ago and I made his birthday cake, cupcakes for guests and decorations for his party. The colour scheme was Silver, White and Bermuda Bay. You could adapt these items to any event by simply changing the colour scheme.


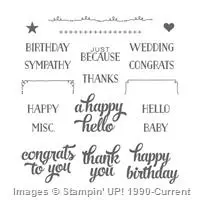
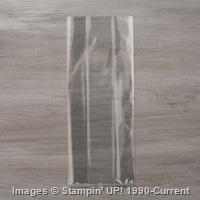
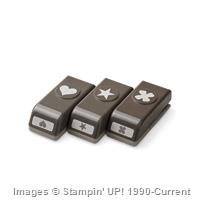
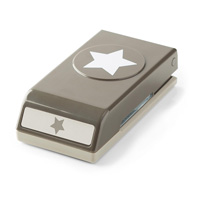
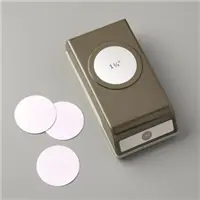
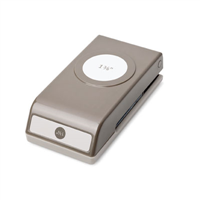
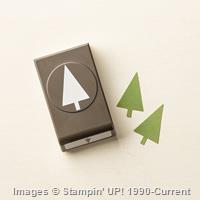
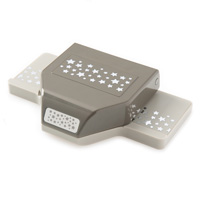
Rather than making the cake centrepiece out of fondant (which I usually do), I made his cake topper using Stampin' Up! products (except for the 'Celebrate' diecut and white florist wire).  I used the retired Simply Stars stamp set and co-ordinating star punches, along with some smaller punched stars out of Stampin' Up! silver foil and silver glimmer paper.  You could substitute the retired star punches and stamp set with the current catalogue star framelits and co-ordinating stamp set. The clear cellophane cake bags had a topper made using Stampin' Up! circle and star punches along with the thank you sentiment from the Tin of Cards stamp set.

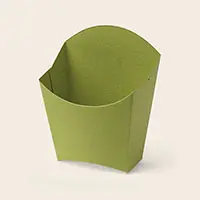
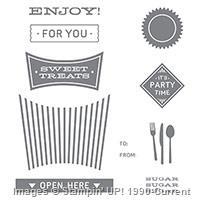
The treat boxes were made using Stampin' Up!'s Fry Box die and co-ordinating All About Sugar stamp set. 


The key products used on these items have been listed below - just click on the picture and it will take you to my online store where the product can be purchased.  Papercrafting classes are available.

Thanks for visiting.
Built for Free Using: My Stampin Blog

Thursday, 9 July 2015

Pyramid Christmas in July card

Wow, we're halfway through the year and it's Christmas in July time again.  I thought I'd make a pyramid card for something a bit different this year.


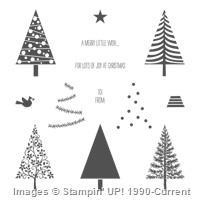
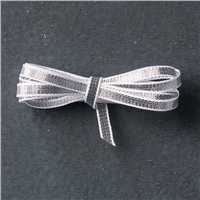
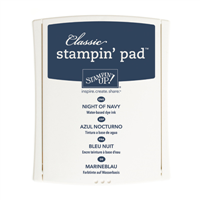
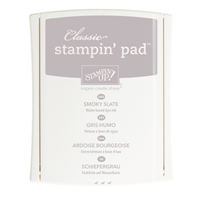
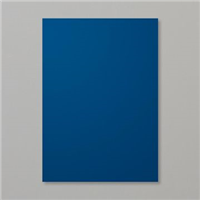
I love how Stampin' Up! have introduced some Christmas products into the current Annual Catalogue.  I've used a Night of Navy, Silver/Smoky Slate and Whisper White colour scheme for these cards.  The front of the larger card features the Merry Everything stamp set and the smaller one features a sentiment from the Lots of Joy stamp set. Both cards have stars which have been either punched or diecut.  I loved using the confetti stars punch to create the stars border all around the cards.  The star on the right side of each card also helps to hold the card together, along with the ribbon bow on the larger version which can be untied so the card can be folded flat for posting.  You don't normally need to add ribbon ties to pyramid cards, but the large version needed the extra support - it stands about 19cm/7.5" high and was made using 3 x 14.5cm/5.75" squares to form the pyramid.

Here are the front and side views of the larger pyramid card which also features the Festival of Trees stamp set.  

Turning left from the front of the card:

 Turning right from the front of the card:
 

If this card is too big, not a problem - you can make them any size by just using a smaller sized square to start with for the base.


The smaller pyramid card above was made using three 10.5cm/4 1/8" squares and stands 13.5cm/5.25" high.

How to make a pyramid card:
1.  Cut three equal sized squares to a size of your choosing e.g. 10.5cm / 4 1/8" and diagonally score each.  Burnish the scorelines.
 2.  Glue two of the squares on top of the third square along its scoreline.

 3. Overlap the ends to form the pyramid.

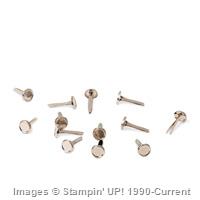
4. Add a brad or other embellishment just under the overlapped ends to secure the card ends in place.

6. Optional: Add co-ordinating cardstock or designer series paper as a mat to the card base. 

7. Decorate all three sides of the pyramid card to suit.


The key products used on this card have been listed below - just click on the picture and it will take you to my online store where the product can be purchased.  Papercrafting classes and workshops are available, please feel free to contact me for details.

Thanks for visiting.
Price: $169.00
Price: $31.00
Built for Free Using: My Stampin Blog