Showing posts with label merry everything. Show all posts

Thursday, 23 July 2015

Merry Moments Christmas in July

Christmas cards are always popular and Christmas in July is a good time to make a start on Christmas cards so you have plenty on hand when you need them later in the year.

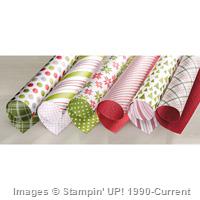
These two cards feature the Christmas themed Merry Moments Designer Series Paper (DSP) by Stampin' Up! which actually has a lot of versatile patterns suitable for everyday occasions as well as Christmas.

Two cards, same DSP but two different looks.

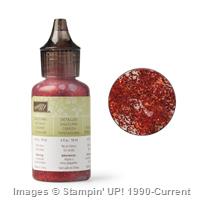
This card features the Stampin' Up! Wondrous Wreath stamp set and co-ordinating Wonderful Wreath framelit set.  I've added a splash of bling by using the Red Glimmer Paper and Cherry Cobbler Dazzling Details for berries on the wreath.  The 'Celebrate' wood veneer sentiment from the Expressions Natural Elements set completes the card.

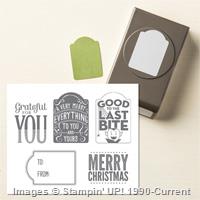
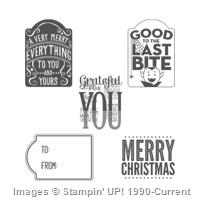
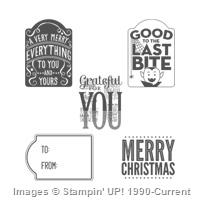
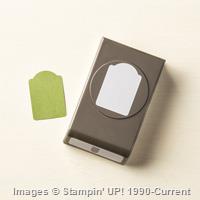
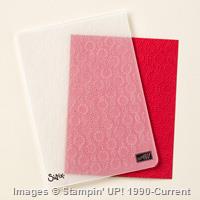
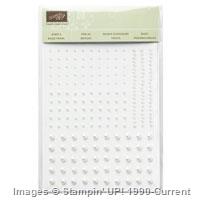
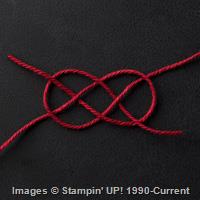
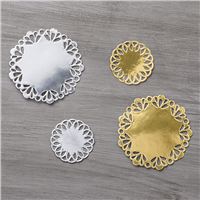
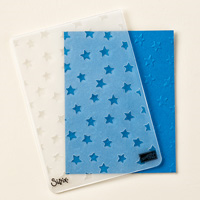
 For this card I embossed the background with the Elegant Dots Textured Impressions Embossing Folder before adding the centrepiece.  I used the Note Tag punch to create the tag base, stamped the Merry Everything Christmas sentiment and layered it onto a gold metallic foil doily.  The Note Tag punch and Merry Everything stamp set can be purchased individually or as a bundle which saves you 15% of RRP too. Cherry Cobbler thick baker's twine finishes off the centrepiece.  I used a gold metallic marker to colour the pearls gold to match the metallic foil doily.
 
As an example of how versatile the Merry Moments DSP can be, here are three different cards I made using one sheet (both sides) of one of the patterns from this range.  Here's the link to the centre 'Dad' card below where you can find more details about that card: http://angelaspaperarts.blogspot.com.au/2015/07/World's-Greatest-Dad.html


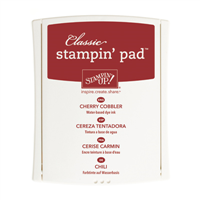
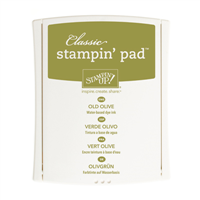
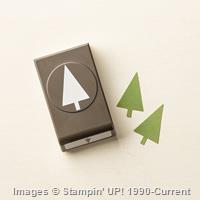
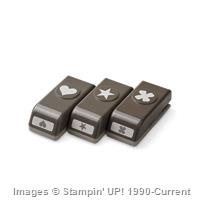
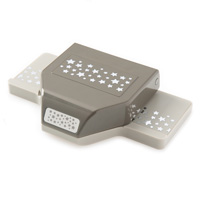
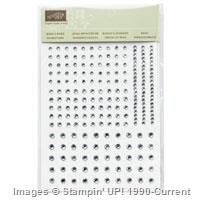
The key products used on the two Christmas cards have been listed below - just click on the picture and it will take you to my online store where the product can be purchased.  Papercrafting classes and workshops are available, please feel free to contact me for details.

Thanks for visiting.
Built for Free Using: My Stampin Blog

Thursday, 9 July 2015

Pyramid Christmas in July card

Wow, we're halfway through the year and it's Christmas in July time again.  I thought I'd make a pyramid card for something a bit different this year.


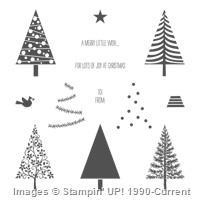
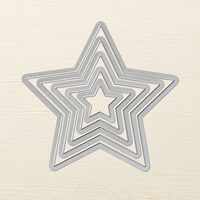
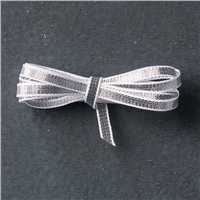
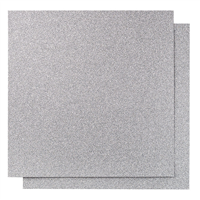
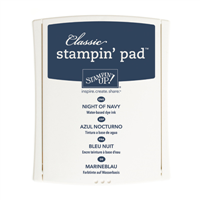
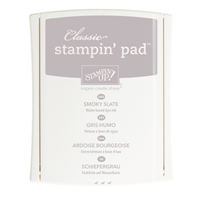
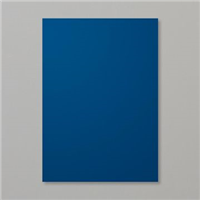
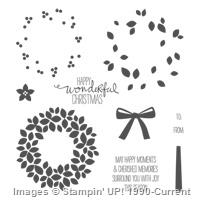
I love how Stampin' Up! have introduced some Christmas products into the current Annual Catalogue.  I've used a Night of Navy, Silver/Smoky Slate and Whisper White colour scheme for these cards.  The front of the larger card features the Merry Everything stamp set and the smaller one features a sentiment from the Lots of Joy stamp set. Both cards have stars which have been either punched or diecut.  I loved using the confetti stars punch to create the stars border all around the cards.  The star on the right side of each card also helps to hold the card together, along with the ribbon bow on the larger version which can be untied so the card can be folded flat for posting.  You don't normally need to add ribbon ties to pyramid cards, but the large version needed the extra support - it stands about 19cm/7.5" high and was made using 3 x 14.5cm/5.75" squares to form the pyramid.

Here are the front and side views of the larger pyramid card which also features the Festival of Trees stamp set.  

Turning left from the front of the card:

 Turning right from the front of the card:
 

If this card is too big, not a problem - you can make them any size by just using a smaller sized square to start with for the base.


The smaller pyramid card above was made using three 10.5cm/4 1/8" squares and stands 13.5cm/5.25" high.

How to make a pyramid card:
1.  Cut three equal sized squares to a size of your choosing e.g. 10.5cm / 4 1/8" and diagonally score each.  Burnish the scorelines.
 2.  Glue two of the squares on top of the third square along its scoreline.

 3. Overlap the ends to form the pyramid.

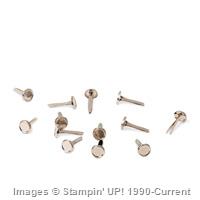
4. Add a brad or other embellishment just under the overlapped ends to secure the card ends in place.

6. Optional: Add co-ordinating cardstock or designer series paper as a mat to the card base. 

7. Decorate all three sides of the pyramid card to suit.


The key products used on this card have been listed below - just click on the picture and it will take you to my online store where the product can be purchased.  Papercrafting classes and workshops are available, please feel free to contact me for details.

Thanks for visiting.
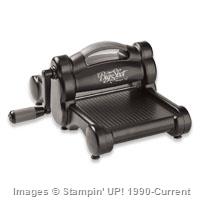
Price: $169.00
Price: $31.00
Built for Free Using: My Stampin Blog