Showing posts with label confetti star punch. Show all posts

Thursday, 27 August 2015

Make a Wish birthday card

Making a card for a teenage boy is always a bit of a challenge.  My nephew turned 14 recently and this card was made especially for him.


I kept the colour scheme simple by using Stampin' Up!'s Basic Black, Whisper White & Silver and had stars as the theme. 

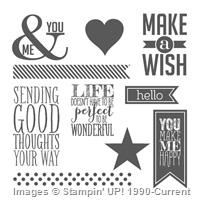
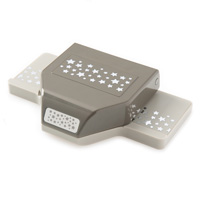
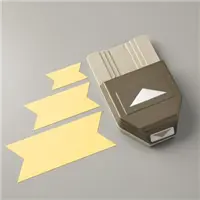
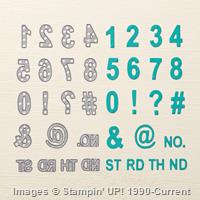
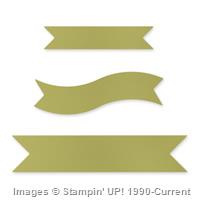
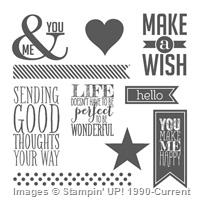
I created the banner from Silver foil, Basic Black and Whisper White card stock and used the Triple Banner punch to create the flagged ends.  The Confetti Star punch created a decorative border at the top of the banner and the stars from the punch were then used to decorate around the edges. Some Basic Black Bakers Twine was also wrapped around the top of the banner to add some texture.  The 'Make a Wish' sentiment is from the Perfect Pennants set and I stamped the letter 'a' twice and raised it up on some Silver Glimmer paper and foam dimensional. The number 14 was die cut using the Little Numbers thinlets in Basic Black card stock.

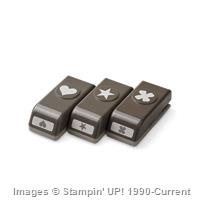
The banner was mounted on some Everyday Chic Designer Series Paper which was then attached to a Basic Black card base. Three Silver Glimmer paper stars were punched using the Itty Bitty Accent star punch and a black candy dot added into the centre of each to complete the card.

All products used on this card have been listed below.  Click on the picture and it will take you to my online store where the product can be purchased.  Papercrafting classes are available.

Thanks for visiting.
Thursday, 9 July 2015

Pyramid Christmas in July card

Wow, we're halfway through the year and it's Christmas in July time again.  I thought I'd make a pyramid card for something a bit different this year.


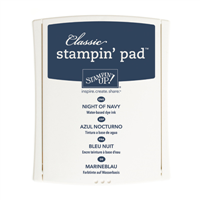
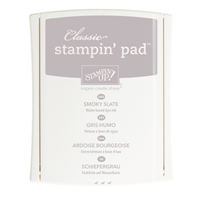
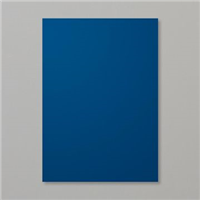
I love how Stampin' Up! have introduced some Christmas products into the current Annual Catalogue.  I've used a Night of Navy, Silver/Smoky Slate and Whisper White colour scheme for these cards.  The front of the larger card features the Merry Everything stamp set and the smaller one features a sentiment from the Lots of Joy stamp set. Both cards have stars which have been either punched or diecut.  I loved using the confetti stars punch to create the stars border all around the cards.  The star on the right side of each card also helps to hold the card together, along with the ribbon bow on the larger version which can be untied so the card can be folded flat for posting.  You don't normally need to add ribbon ties to pyramid cards, but the large version needed the extra support - it stands about 19cm/7.5" high and was made using 3 x 14.5cm/5.75" squares to form the pyramid.

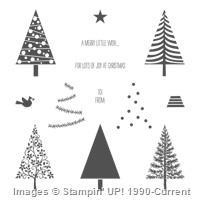
Here are the front and side views of the larger pyramid card which also features the Festival of Trees stamp set.  

Turning left from the front of the card:

 Turning right from the front of the card:
 

If this card is too big, not a problem - you can make them any size by just using a smaller sized square to start with for the base.


The smaller pyramid card above was made using three 10.5cm/4 1/8" squares and stands 13.5cm/5.25" high.

How to make a pyramid card:
1.  Cut three equal sized squares to a size of your choosing e.g. 10.5cm / 4 1/8" and diagonally score each.  Burnish the scorelines.
 2.  Glue two of the squares on top of the third square along its scoreline.

 3. Overlap the ends to form the pyramid.

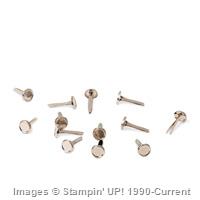
4. Add a brad or other embellishment just under the overlapped ends to secure the card ends in place.

6. Optional: Add co-ordinating cardstock or designer series paper as a mat to the card base. 

7. Decorate all three sides of the pyramid card to suit.


The key products used on this card have been listed below - just click on the picture and it will take you to my online store where the product can be purchased.  Papercrafting classes and workshops are available, please feel free to contact me for details.

Thanks for visiting.
Price: $169.00
Price: $31.00
Built for Free Using: My Stampin Blog

Saturday, 6 December 2014

Christmas Wishes

It's getting closer to Christmas and this week I've made a Christmas Screen card.
 
 
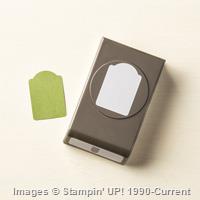
I had seen various birthday versions of the screen card and decided I'd make a Christmas version.  I used the Confetti Star punch to create the star border along the top of the card.  The Artisan label punch was used to create the bottom of the screen.  The panels feature the Ornamental Pine stamp set - one of my favourite sets for Christmas cards this year.  The Christmas Wishes sentiment is from the Endless Wishes stamp set.
 
The key products used on this card have been listed below - just click on the picture and it will take you to my online store where the product can be purchased.  Have a question? Not a problem, just send me a message.  Papercrafting classes are available.

Thanks for visiting.