Showing posts with label sponging. Show all posts

Thursday, 3 October 2019

Sailing home scene card

At last month's class we focused on making cards for the men in our lives. Here's one of the cards we made featuring the Stampin' Up! Sailing Home stamp set and co-ordinating Smooth Sailing dies bundle.

Sailing home card:
SU Sailing Home card by Angela Lovel, Angela's PaperArts


I showed the class participants how to do the reverse masking technique and build a scene along with various sponging techniques. All products used are listed here and can be purchased directly from my online store if you live in Australia. If you like this project you may want to consider attending a papercrafting class. I run classes each month - please contact me for further details if you live in Melbourne, Australia.  Private classes for you and your friends can be arranged for local crafters.

If you enjoy papercrafting and Stampin' Up! products you may want to consider joining my team to receive a discount on your supplies or to start a business that fits in with your lifestyle. I'm here to support you if you do like the idea of joining Stampin' Up! Click on the link at the top of this page for more information or please feel free to contact me to discuss the benefits of joining.

Thanks for visiting

Thursday, 7 December 2017

Beautiful Bethlehem card

I enjoy layering ink onto cards to give different effects.  This card featuring the Night of Bethlehem stamp set and co-ordinating Bethlehem Edgelits Dies started as a white piece of paper before I got my inks and sponges out to create this night scene.

Stampin' Up! Night of Bethlehem card by Angela Lovel, Angela's PaperArts

To create this night time effect, the stars were stamped and heat embossed prior to sponging on Island Indigo and Night of Navy ink.   The town was diecut using Silver Foil paper and layered onto the card.  The sentiment is from the Star of Light stamp set.

Workshops and papercrafting classes are available - please contact me for details.  If you enjoy papercrafting and the Stampin' Up! products you may want to consider joining my team.  Click on the Join My Team link at the top of this page for more information or feel free to contact me to discuss the joining benefits if you live in Australia.

Thanks for visiting
Product List

Thursday, 19 November 2015

Thoughts & Prayers sympathy card

You never know when a sympathy card may be need for a family member or friend. I unfortunately had to make this card for a friend recently but it could be used as a general 'thinking of you' card too just to let someone know you care.


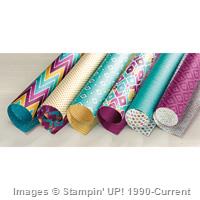
I sponged the centre focal point with a combination of Stampin' Up!'s Island Indigo, Lost Lagoon and Mint Macaron inks.  To get the sponging straight, I masked off the sides with post-it-notes.  I then used the Thoughts and Prayers stamp set and stamped the tree and sentiment in Early Espresso.  I used the now retired Scallop Trim punch to create the delicate Early Espresso scallop border and added a candy dot in each corner.  The centrepiece was then layered on top of Bohemian Designer Series Paper and an Early Espresso card base.

The key products used on this card have been listed below - just click on the picture and it will take you to my online store where the product can be purchased.  Papercrafting classes are available.

Thanks for visiting.

Friday, 10 April 2015

Masculine happy birthday card

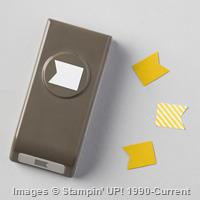
This week's card features the masking and sponging techniques.  It also features the Stampin' Up! Banner Punch and co-ordinating Banner Banter stamp set which is discounted by 15% until 17 April 2015 when buying these items as a bundle.
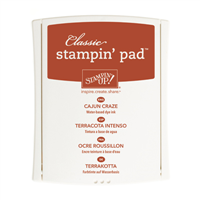
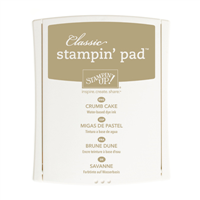

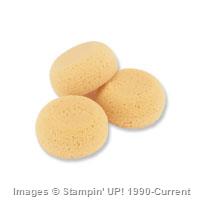
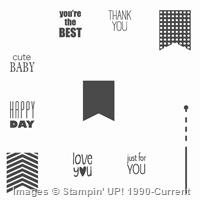
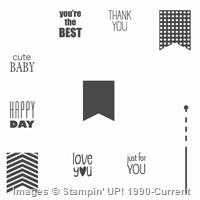
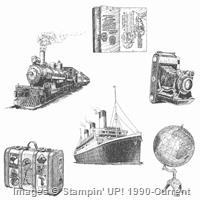
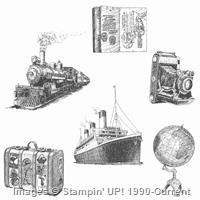
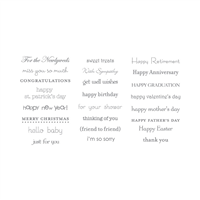
To create this card I used sticky notes to mask off a section of the Very Vanilla cardstock.  I then used a quarter section of the Stampin' Up! sponge to apply the Crumb Cake ink.  Once I was happy with the sponged coverage, I removed the sticky notes and stamped the train from the Traveler stamp set.  I stamped some banners using the co-ordinating ink and cardstock then punched them out with the Banner punch.  I layered the sentiment and banners together and attached them to the card using foam dimensionals.

If you'd like to learn this or other papercrafting techniques, please contact me as workshops and papercrafting classes are available.  The key products used on this card have been listed below - just click on the picture and it will take you to my online store where the product can be purchased. 

Thanks for visiting