I made this gatefold shutter card for my Mum's recent birthday. As soon as I saw the new Stampin' Up! Splendid Day Specialty Designer Series Paper, I knew this would be perfect for my project.
Here's the front of the card.
The shutter card is based on the concept of a camera's shutter mechanism. Here's the card partially opened and you can see that the centre focal section is currently white as the shutters are closed.
Here's the fully opened inside of the card. As the card is opened further, the shutters open and the 'best wishes' sentiment from the Artistically Ink stamp set is revealed.
Video tutorial I made a unplanned, last minute decision to video creating this card. It's unedited but has all the dimensions and products I used, along with some tips for creating this style of card which you may find useful. You can see the video here:
Just a reminder that between now and 31 August, 2022, Stampin' Up!'s Sale-A-Bration is happening.
So what is Sale-A-Bration ('SAB')? Well until 31 August, you can choose free product for every $90 of product ordered. There's no limit on how many Sale-A-Bration items you can receive as it's based on the total amount of your order. For example, a $180 order is eligible to choose either 2 x $90 SAB products or 1 x $180 SAB product.
There are also two other benefits during SAB:
Host rewards: Any workshop or individual product order of $500 or more will automatically receive the Perfect Pomegranate stamp set.
Joining rewards: For $169 you can join Stampin' Up! and receive $235 worth of products of your choice with free shipping PLUS during SAB, you will automatically receive the Making Plans Collection for free. To learn more about the benefits of joining, here's a link to read more aboutit or you can also contact me - I'd be happy to answer your questions.
So why not head over to my online store and take advantage of Sale-A-Bration to receive free product with your next qualifying order.
The products used on this project can be purchased from my online store if you live in Australia.
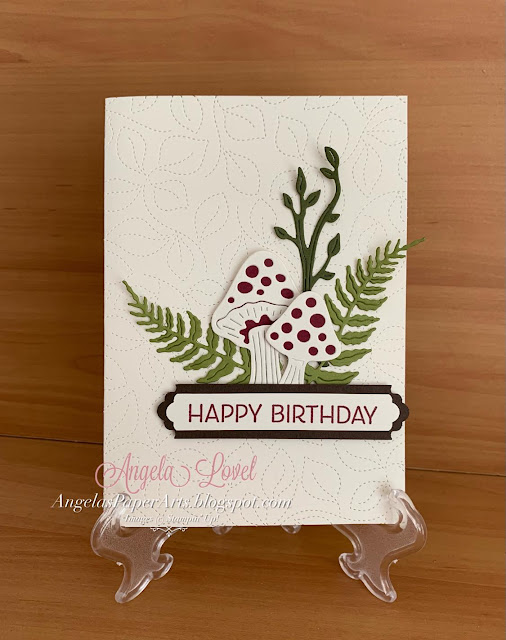
I always need birthday cards and this one features the versatile Stampin' Up! Iconic dies.
The Stampin' Up! Iconic dies are so cute and this card was quick to make. I also used the Stitched Greenery die to create the stitched leafy background on the card base.
Last week I shared a card where I had used a diecut as a mask from the Stampin' Up! Artistically Inked stamp set & co-ordinating dies bundle. I felt the colouring on the mask was too pretty to waste and created a second card with the 'positive' mask image.
Here are both cards side by side. Which do you prefer, the white negative image card or green positive mask card?
Tip: So if you don't have the right plastic mask, use one of your dies instead to create what you need.The products used are currently available and can be purchased from my online store if you live in Australia.
I've been doing more masking and ink blending again using a diecut as my mask and featuring the Artistically Inked stamp set & co-ordinating dies bundle.
Once I removed the mask I was left with the negative image which I turned into a birthday card. I could have left the mask on the card, but I'll share with you next time how I used it to create another card - I basically got two cards out of the one technique using both the positive and negative images.
A close up of the 'negative' inked image once the mask was removed.
Tip: So if you don't have the right plastic mask, use one of your dies instead to create what you need.The products used are currently available and can be purchased from my online store if you live in Australia.