Happy New Year and welcome to the release of the new Occasions Catalogue and Sale-A-Bration for 2016.
This is an exciting time to shop with Stampin' Up! The new Occasions Catalogue is full of inspiring products and examples of how to use the products too. The bonus at this time of the years is that from now and until 31 March, for every $90 spent on products, you get to choose a free Sale-A-Bration item too.
Click here to view the online 2016 Occasions catalogue.
Would you like to see what you can get for free when spending $90 on Stampin' Up! products from my online store during Sale-A-Bration?
Click here to view the online Sale-A-Bration catalogue.
Consider gathering a few friends together to host a workshop to gain free Sale-a-Bration rewards along with Hostess rewards too. Do you have a large Stampin' Up! wish list - then talk to me about how joining Stampin' Up! can save you money. You don't have to run a business, you can be a hobby crafter and still enjoy all the benefits of being with Stampin' Up! During Sale-A-Bration, you can join Stampin' Up! for $169 and receive $295 worth of products of your choice! That's excellent value. Contact me today to find out about all the benefits of being with Stampin' Up!
If you have any questions at anytime about Stampin' Up! products, hosting a workshop or joining Stampin' Up! please let me know.
Thanks for visiting.
Tuesday, 5 January 2016
Thursday, 24 December 2015
Celebrating 18 Guest Book
I'd like to wish all my family, friends and customers a very Merry
Christmas and look forward to sharing more Stampin' Up! products and
news with you next year. In the meantime, if you have a special occasion coming up, don't forget to have a guest book on hand to capture special messages at the event.
As an example, here's a guest book I made for my son who recently turned 18.
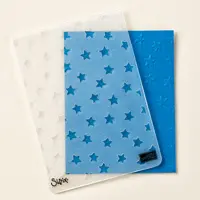
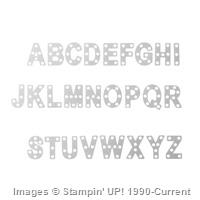
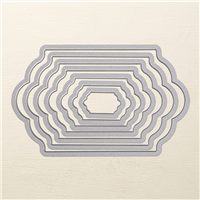
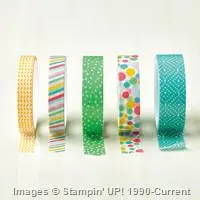
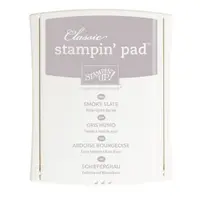
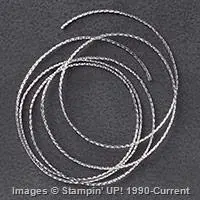
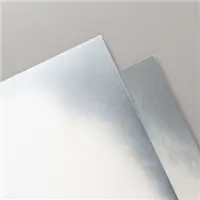
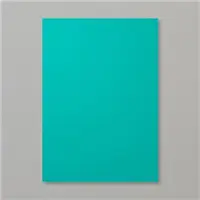
I used a full A4 sheet of Stampin' Up! Bermuda Bay card stock and layered white copy paper inside to capture his guests' messages. I layered Silver Foil and Bermuda Bay card stock which had been embossed with the Lucky Stars embossing folder onto the card base. I then diecut some Silver Foil and Whisper White card stock using the Lots of Label framelits to create the focal element. I used Smoky Slate ink to stamp 'happy birthday' from the Happy Birthday Everyone hostess set available on eligible orders over $250. I used the Little Letters thinlets dies for 'Ryan'. I added a key charm from my stash with some of Silver cording onto the focal element. The metal '18' numbers are from my personal stash too. I bound the spine of the guest book with Bermuda Bay washi tape from the Cherry on Top washi set.
This didn't take long to make the guest book and co-ordinated with the decorations used for his party too. It's also a great keepsake of his special party.
As an example, here's a guest book I made for my son who recently turned 18.
I used a full A4 sheet of Stampin' Up! Bermuda Bay card stock and layered white copy paper inside to capture his guests' messages. I layered Silver Foil and Bermuda Bay card stock which had been embossed with the Lucky Stars embossing folder onto the card base. I then diecut some Silver Foil and Whisper White card stock using the Lots of Label framelits to create the focal element. I used Smoky Slate ink to stamp 'happy birthday' from the Happy Birthday Everyone hostess set available on eligible orders over $250. I used the Little Letters thinlets dies for 'Ryan'. I added a key charm from my stash with some of Silver cording onto the focal element. The metal '18' numbers are from my personal stash too. I bound the spine of the guest book with Bermuda Bay washi tape from the Cherry on Top washi set.
This didn't take long to make the guest book and co-ordinated with the decorations used for his party too. It's also a great keepsake of his special party.
The key products used on this guest book/card have been listed below - just click
on the picture and it will take you to my online store where the product
can be purchased. Papercrafting classes are available.
Thanks for visiting.
Labels:
embossing,
guest book,
Lots of labels,
lucky stars
Thursday, 17 December 2015
2016 Occasions catalogue sneak peek - Botanical birthday
I recently attended the Stampin' Up! demonstrator only OnStage Occasions catalogue release training day and was in awe at the number of fabulous products being released soon. I had a terrific day with fellow demonstrators and we got to see and try many of the new items in the catalogue launching on 5 January 2016.
Here's my card which features the new Botanical Gardens suite of products.
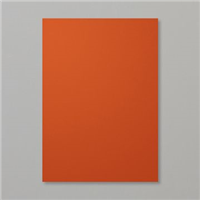
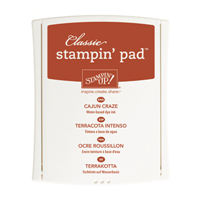
I started with a card base of thick Whisper White card stock. I added a layer of Cajun Craze card stock and Botanical Gardens Designer Series Paper on top. I used the Botanical Blooms stamp set and stamped leaf and flower highlights directly onto the Designer Series Paper too.
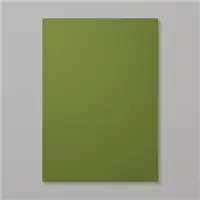
I then created the centre sentiment focal point. I started with a thin Whisper White card stock and stamped the side border using Crushed Curry ink. The happy birthday sentiment was stamped in Cajun Craze ink from the Tin of Cards stamp set. I diecut the floral embellishments using the Botanical Builder Framelits dies, stamped some accents onto them and clustered them together. To finish the border, I wrapped some Mossy Meadow washi tape around the top and bottom of the focal piece. I layered the centre piece using foam dimensionals onto the card.
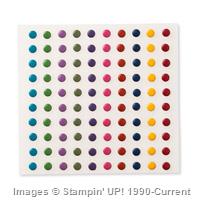
Lastly, I attached some Hello Honey striped cotton ribbon at the top of the card and added a Cajun Craze candy dot to complete the card.
Here's my card which features the new Botanical Gardens suite of products.
I started with a card base of thick Whisper White card stock. I added a layer of Cajun Craze card stock and Botanical Gardens Designer Series Paper on top. I used the Botanical Blooms stamp set and stamped leaf and flower highlights directly onto the Designer Series Paper too.
I then created the centre sentiment focal point. I started with a thin Whisper White card stock and stamped the side border using Crushed Curry ink. The happy birthday sentiment was stamped in Cajun Craze ink from the Tin of Cards stamp set. I diecut the floral embellishments using the Botanical Builder Framelits dies, stamped some accents onto them and clustered them together. To finish the border, I wrapped some Mossy Meadow washi tape around the top and bottom of the focal piece. I layered the centre piece using foam dimensionals onto the card.
Lastly, I attached some Hello Honey striped cotton ribbon at the top of the card and added a Cajun Craze candy dot to complete the card.
The key products used on this card have been listed below with the exception of the sneak peek products which aren't available for purchase just yet. Just click
on the picture and it will take you to my online store where the current product
can be purchased and the sneak peek products will be available from there from 5 January 2016. Papercrafting classes are available.
Thanks for visiting.
Labels:
Botanical Gardens,
Occasions 2016
Wednesday, 16 December 2015
Christmas Curvy Keepsake treats
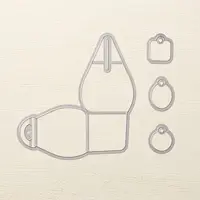
I made some Stampin' Up! Curvy keepsake boxes last Christmas for friends which were a hit, so I thought I'd make some for some work colleagues this year.
Pictured above are some that I made - the santa suit (same as last year), christmas pudding (inspired from Pinterest) and a sleigh ride/snow themed one too of my own design. All were filled with chocolates prior to adding the tags onto each handle.
The boxes are easy to assemble and it's up to you how you want to decorate them.
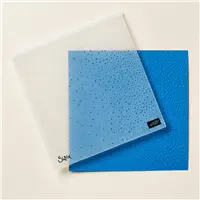
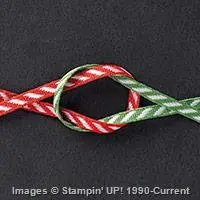
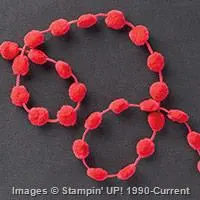
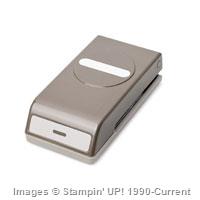
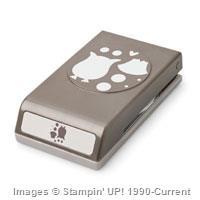
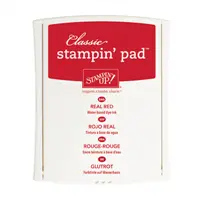
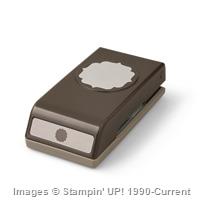
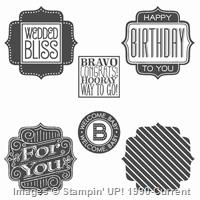
For the christmas pudding design, I made the Curvy keepsake box using Chocolate Chip and Whisper White cardstock which I had embossed using the Softly Falling embossing folder. The red berry for the holly was cut from the Real Red Pompom Trim. I used the Word Window punch to cut out the sentiment from the retired Good Greetings stamp set and attached it onto the box using the Real Red striped ribbon.
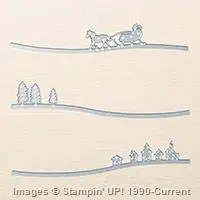
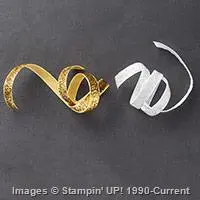
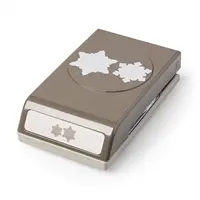
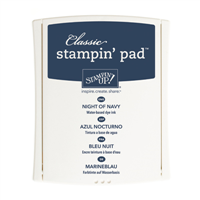
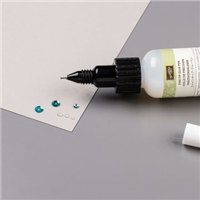
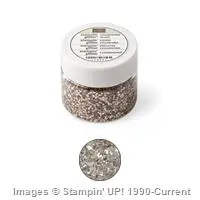
The snowy sleigh ride box was made using Night of Navy and Whisper White cardstock. I die cut the sleigh image and also trees (on the back of the box) from the Sleigh Ride edgelits. The snowflake was punched from the Snow Flurry punch and attached using Silver Cording trim and White glitter ribbon. I used the Fine Tip glue pen to randomly put dots of glue over the box and sprinkled it with Silver glitter to represent falling snow.
The key products used on these boxes have been listed below with their original RRP price - just click on the picture and it will take you to my online store where the product can be purchased and if it's included in the Year End Sale, you'll see a reduced price. Papercrafting classes are available.
Thanks for visiting.
Pictured above are some that I made - the santa suit (same as last year), christmas pudding (inspired from Pinterest) and a sleigh ride/snow themed one too of my own design. All were filled with chocolates prior to adding the tags onto each handle.
The boxes are easy to assemble and it's up to you how you want to decorate them.
The snowy sleigh ride box was made using Night of Navy and Whisper White cardstock. I die cut the sleigh image and also trees (on the back of the box) from the Sleigh Ride edgelits. The snowflake was punched from the Snow Flurry punch and attached using Silver Cording trim and White glitter ribbon. I used the Fine Tip glue pen to randomly put dots of glue over the box and sprinkled it with Silver glitter to represent falling snow.
The key products used on these boxes have been listed below with their original RRP price - just click on the picture and it will take you to my online store where the product can be purchased and if it's included in the Year End Sale, you'll see a reduced price. Papercrafting classes are available.
Thanks for visiting.
Labels:
3D,
curvy keepsake,
xmas
Saturday, 12 December 2015
For You Tealight Gift Boxes
Do you need some inexpensive gifts for teachers, coaches or friends? It's always worth checking the Stampin' Up! Year End Sale in my online store as there's often bargains available which can be turned into inexpensive gifts, like the tealight boxed gifts below.
I bought these boxes which come in a set of six, decorated them with some retired ribbon and tulle and filled them with scented tealight candles. I added a gift tag and as quickly as that, some cost effective gifts were ready to be put under the Christmas tree. So don't forget to have a look at the Clearance Rack when you're shopping - you never know what bargains you might find as new items get added on a regular basis. Other gift packaging ideas are also available from my Stampin' Up! store.
The key products used on this card have been listed below - just click on the picture and it will take you to my online store where the product can be purchased. Papercrafting classes are available.
Thanks for visiting.
I bought these boxes which come in a set of six, decorated them with some retired ribbon and tulle and filled them with scented tealight candles. I added a gift tag and as quickly as that, some cost effective gifts were ready to be put under the Christmas tree. So don't forget to have a look at the Clearance Rack when you're shopping - you never know what bargains you might find as new items get added on a regular basis. Other gift packaging ideas are also available from my Stampin' Up! store.
The key products used on this card have been listed below - just click on the picture and it will take you to my online store where the product can be purchased. Papercrafting classes are available.
Thanks for visiting.
Subscribe to:
Posts (Atom)