A very special member of my family turned 80 today. We celebrated by having High Tea and as she has an elegant sense of style, I tried to make an elegant card for her too.
Here's my step card for her 80th birthday.
I learned how to make a step card years ago from my fellow crafty friend, Michele Winston. Here are her instructions:
Cut a piece of
cardstock 5.5" x 11" to make the base of the card.
On the short side, cut
two lines in the cardstock 1" in from each
edge. The cuts start 1" down from the top and are 5.5" long, so they finished at 6.5".
On the long side, score three lines from the edge of the card to the first cut line. Score at 1", 2" and 6.5". Repeat the same for the other side of the card by scoring the same on the other side. (See first picture below).
Score a line across the centre of the card at 5.5". Score from 1" down to 4.5" - effectively joining the two cut lines.
Your card base should now look like the second picture below.

Fold the two side edges so your 1" score is a mountain fold and your 2" score becomes a valley fold. Your card should now look like the picture below.
Decorate your card to suit.
Here's a side view of my finished card.
I hope you enjoy making this card. It's not difficult and does add a bit of interest to your card.
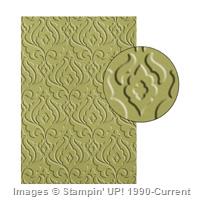
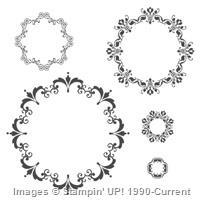
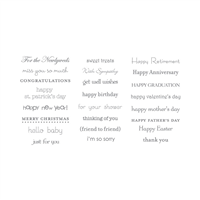
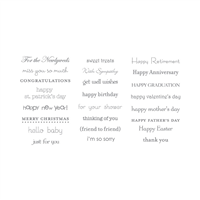
The products used are all Stampin' Up! except for the patterned paper and pearl embellishments which have been in my stash for some time. Two of the products, the Perfectly Penned sentiment set and Pewter embossing powder are retiring 30 June 2014 and can be found in the Retired List section of my store. If you're interested in these products you need to get them quick as our new catalogue starts 1 July 2014.
If you're interested in buying any of the products used today, please click on the links below to order them online. If you'd prefer to attend a class to learn how to make this card, please feel free to contact me as I do run regular card making classes.
Thanks for visiting.