
Instructions:
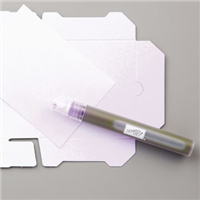
- Pictured below are the materials you'll need for this technique using my preferred method which requires watercolour paper dampened with a spritz of
water.
(Alternatively, you can use standard cardstock and sponge on the ink.)

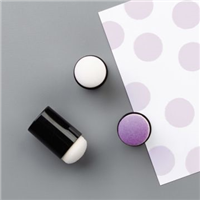
- Using an
aqua painter brush or a wet paint brush, drop three different
colours of ink onto the paper in a random manner, starting with the lightest
colour through to the darkest. Let the colours blend together and leave to dry
before moving to the next step.
(If using the sponging method, sponge randomly on the cardstock from lightest to darkest.)
- Hint: I use ink refills for this step as I like the intense colour they provide, but you can put ink from your inkpads onto a craft sheet or acrylic block and pick up the colour with your wet brush that way.

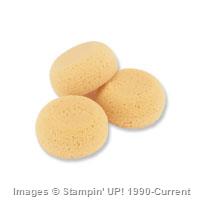
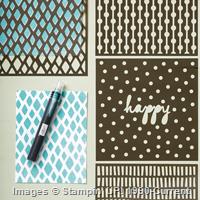
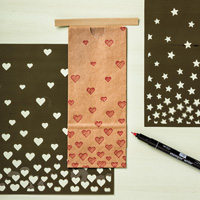
- Using a mask with different sized circles, sponge circles from largest to smallest with white ink onto the background. Leave to
dry.
- Hint 1: The largest circles should be translucent and apply a heavier amount of ink the smaller the circles get – but still light enough so you don’t completely cover up the background colours. Overlap the circles too for extra interest.
- Hint 2: Create your own mask by punching circles
out of some cardstock or acetate.

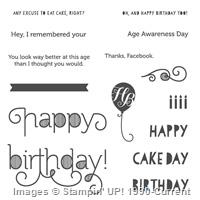
- Once dry add a sentiment and decorate to suit.


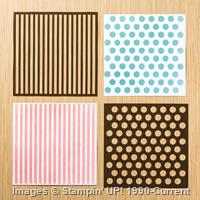
This is a fun technique and the results will be different every time you do it. Whilst bokeh is traditionally based on circles of light in photography, you can use other stencil/mask shapes (like the ones suggested in the products list below) instead of circles if you want to add some variation. You can also experiment with other ink colours too instead of just white.
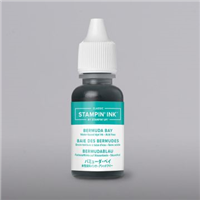
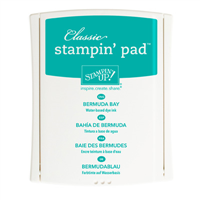
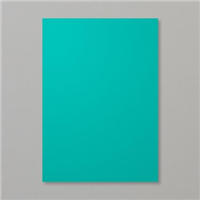
My finished card’s colour scheme is: Stampin' Up! Crisp Cantaloupe (retired), Bermuda Bay and Pistachio Pudding (retired) - but feel free to substitute for any colour combination that you like.
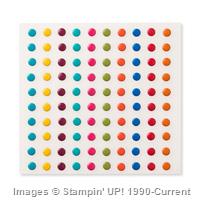
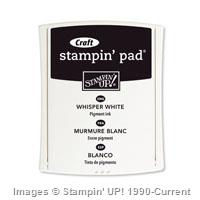
The key products used on the card have been listed below - just click
on the picture and it will take you to my online store where the product
can be purchased. Papercrafting classes and workshops are available,
please feel free to contact me for details.
Thanks for visiting.


No comments:
Post a Comment