
Here's a tutorial on how to make your own co-ordinating photo corners using Stampin' Up! punches.
Step 1. Punch a 1" square from your co-ordinating card stock, foil, vellum or glimmer paper and with a pencil draw straight lines diagonally from corner to corner. One corner has been rounded below to show you the two different results using this technique.

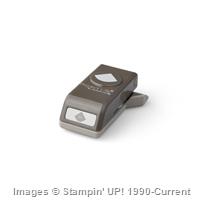
Step 2. Slide the square card into the Label Bracket punch as shown and line up the horizontal pencil line with the middle of the punch and vertical pencil line just past the punch's 'bracket' points and punch to get your first photo corner.


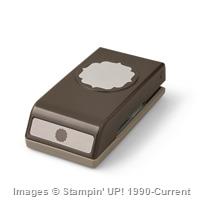
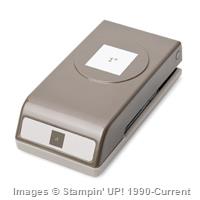
The equipment used to make your own photo corners is pictured below and can be purchased from my online store by clicking on the picture.
I hope you found this tutorial useful.
Thanks for visiting.
No comments:
Post a Comment